sábado, 31 de agosto de 2019

Crepe Filling Recipe Everyone knows that the best part of a crepe is what is inside. This easy cream cheese mousse crepe filling is the perfect thing to fill your crepe with. WPForms What is a crepe? If you aren’t familiar with a crepe (pronounced “krape” rhymes with grape), it is a thin French pancake that is filled with yumminess and then either folded or rolled up. Crepes can be filled with both savory and sweet ingredients. My favorite is of course the sweet kind. I love making crepes for a family breakfast or a party.  One of my favorite bridal showers I’ve given was this Crepe Bar Bridal Shower. It is easy to make your crepes ahead of time and then just let people fill them with their favorite fillings.   Crepe Filling Ideas Usually when we make crepes we go for the fast and easy version.  A can of whipped cream (the kind you spray out of the can, so fun!), berries of our choice (strawberries, raspberries).  We just pile it on and enjoy.  Another favorite crepe filling is  a layer of nutella topped with sliced bananas or strawberries. Even better yet is a layer of lemon curd with some berries and whip cream! When I want to get a little more fancy though I love to make a cream cheese mousse crepe filling. This was perfect for the bridal shower. How to Make Cream Cheese Mousse Crepe Filling Melt cream cheese and sugar together. Do this over a medium low heat in a small saucepan, don’t let the mixture come to a boil.  Low and slow is the key. Allow this mixture to cool before adding in the rest of the ingredients.  If you need to hurry up the process, put it in the refrigerator. Whip your cream.  Using a chilled bowl and beater will help your  cream whip easier and faster.  I just stick my bowl in the refrigerator for ten minutes. You will whip the cream and yogurt or sour cream, sugar and vanilla together until you have medium peaks.  Don’t over beat and turn it into butter!  You can find my tips for making whipped cream here. Fold the two mixtures together.  Don’t over mix this, gently fold them together.  You want it light and fluffy. Keep refrigerated until read to use. White Chocolate Mousse Crepe Filling Recipe For the shower I made three different crepe fillings.  My favorite of the three fillings I made was the White Chocolate Mousse. But the filling that disappeared the fastest was the Cream Cheese Mousse.  They were all so good. I may or may not have eaten some of the leftovers straight out of the bowl, with just a spoon, no crepe.  I also made a chocolate mousse filling. The great thing about the mousse filling is I could make them all the night before and just keep them in the refrigerator until the morning of the shower. Check out these other crepe related posts: Easy French Crepe Recipe How to Fold a Crepe Triple Berry Crepes Crepe Bar Bridal Shower Check out more delicious dinner ideas on my Facebook page and follow me on Instagram.   Cream Cheese Mousse Crepe Filling Recipe Cream Cheese Mousse Everyone knows that the best part of a crepe is what is inside. This easy cream cheese crepe filling is the perfect thing to fill your crepe with. 1 1/2 cup heavy cream (divided) 4 oz. cream cheese (cut into 1 inch chunks) 3/4 cup sugar (divided) 1/3 cup sour cream or Greek yogurt (I used Greek yogurt) 1 tsp vanilla In a small pan heat together 1/2 cup of cream, cream cheese, and 1/2 C sugar over medium heat Stir frequently until the cream cheese is melted and mixture is smooth Put into a bowl and allow to cool to room temperature In your mixer, beat the 1 cup cream with the yogurt or sour cream, add remaining 1/4 cup sugar and vanilla until medium peaks form Fold the two mixtures together. Cover and refrigerate until ready to serve White Chocolate Mousse Crepe Filling Recipe White Chocolate Mousse Crepe Filling A light and sweet delicious white chocolate mousse crepe filling. Just add some strawberries! 1 cup milk (2% or whole milk) 1/3 cup sugar 2 Tbsp cornstarch 1 egg yolk 1 tsp vanilla 1 Tbsp butter 4 oz. white chocolate (chopped) 1/2 tsp gelatin 1 Tbsp cold water 1 cup heavy cream 2 Tbsp powdered sugar 1 tsp vanilla In a medium sauce pan combine milk, cornstarch, sugar and egg yolk. Mix together and cook over medium low heat. Stir constantly and don't let it boil. It will thicken up. Remove from heat and add in vanilla, butter and white chocolate. Stir until chocolate is melted. Cover with plastic and chill for 3-4 hours or overnight. In a small bowl combine gelatin and water. Let it stand for five minutes, then microwave for 10 seconds to liquefy it. Cool to room temperature. In a medium bowl, combine heavy cream, powdered sugar and vanilla. Beat until medium peaks form. Fold the whipped cream mixture into the white chocolate mixture. Cover and chill for one hour. Originally posted June 3, 2011 Continue reading Crepe Filling Recipe. This post is from Your Homebased Mom. If you are not reading it from our feed, it has been STOLEN. Please contact Leigh Anne to let us know. Enjoy the posts.

Everyone knows that the best part of a crepe is what is inside. This easy cream cheese mousse crepe filling is the perfect thing to fill your crepe with.
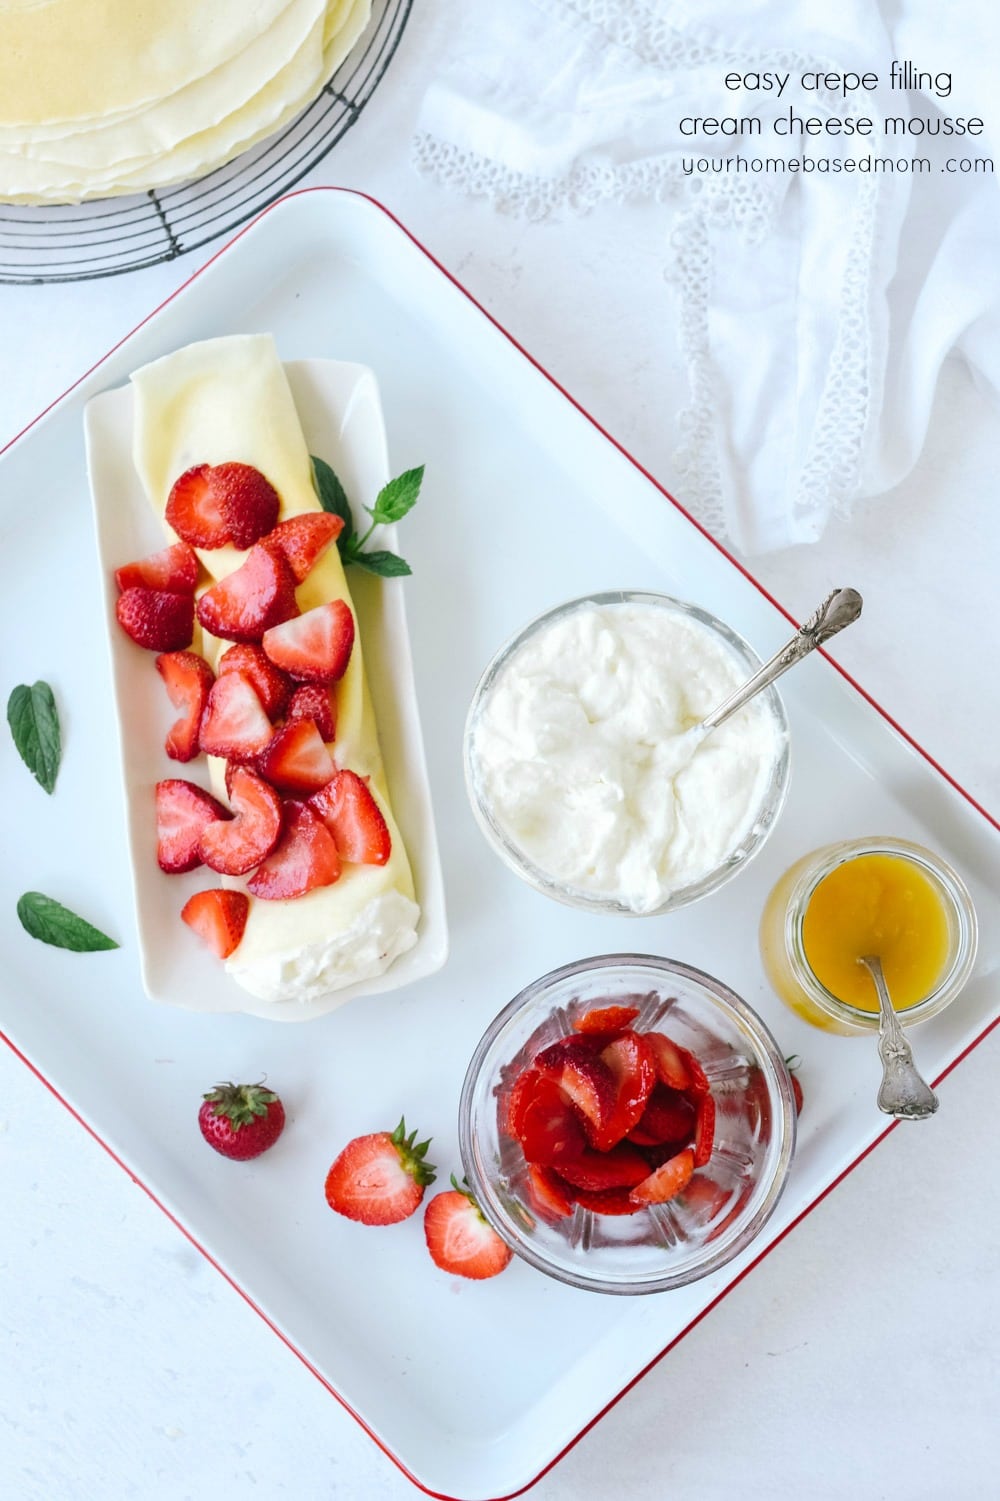
crepe filling and strawberries

What is a crepe?

If you aren’t familiar with a crepe (pronounced “krape” rhymes with grape), it is a thin French pancake that is filled with yumminess and then either folded or rolled up. Crepes can be filled with both savory and sweet ingredients. My favorite is of course the sweet kind.

I love making crepes for a family breakfast or a party.  One of my favorite bridal showers I’ve given was this Crepe Bar Bridal Shower.

It is easy to make your crepes ahead of time and then just let people fill them with their favorite fillings.
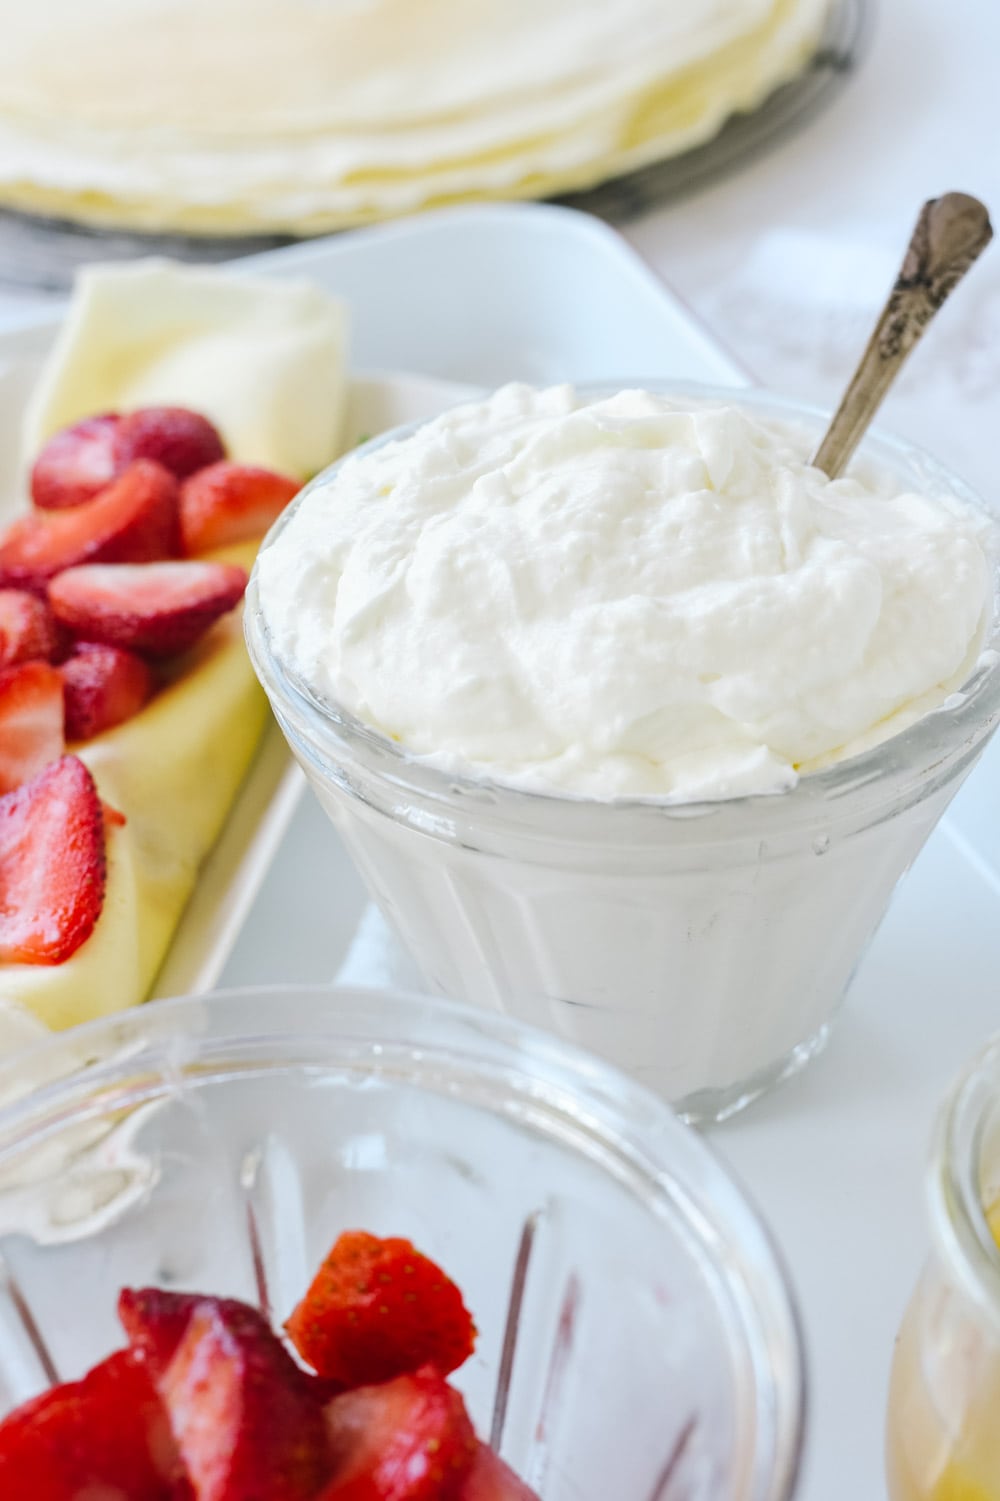
 

cream cheese mousse crepe filling

Crepe Filling Ideas

Usually when we make crepes we go for the fast and easy version.  A can of whipped cream (the kind you spray out of the can, so fun!), berries of our choice (strawberries, raspberries).  We just pile it on and enjoy.  Another favorite crepe filling is  a layer of nutella topped with sliced bananas or strawberries. Even better yet is a layer of lemon curd with some berries and whip cream!

When I want to get a little more fancy though I love to make a cream cheese mousse crepe filling. This was perfect for the bridal shower.
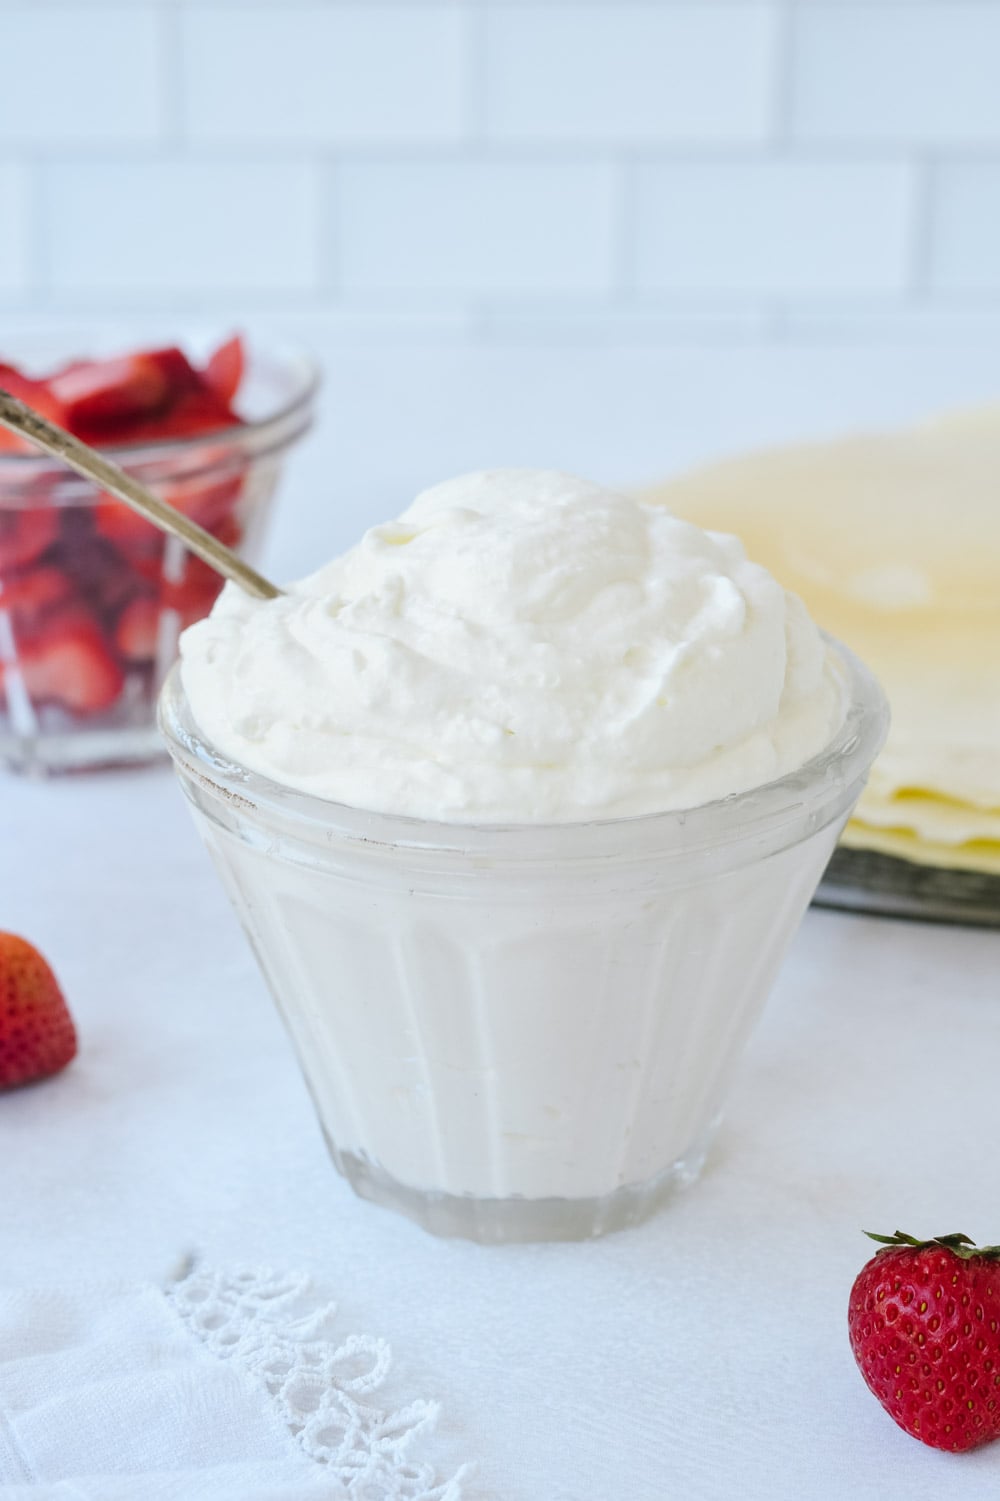
cream cheese mousse in a jar

How to Make Cream Cheese Mousse Crepe Filling

Melt cream cheese and sugar together. Do this over a medium low heat in a small saucepan, don’t let the mixture come to a boil.  Low and slow is the key. Allow this mixture to cool before adding in the rest of the ingredients.  If you need to hurry up the process, put it in the refrigerator.

Whip your cream.  Using a chilled bowl and beater will help your  cream whip easier and faster.  I just stick my bowl in the refrigerator for ten minutes. You will whip the cream and yogurt or sour cream, sugar and vanilla together until you have medium peaks.  Don’t over beat and turn it into butter!  You can find my tips for making whipped cream here.

Fold the two mixtures together.  Don’t over mix this, gently fold them together.  You want it light and fluffy.

Keep refrigerated until read to use.
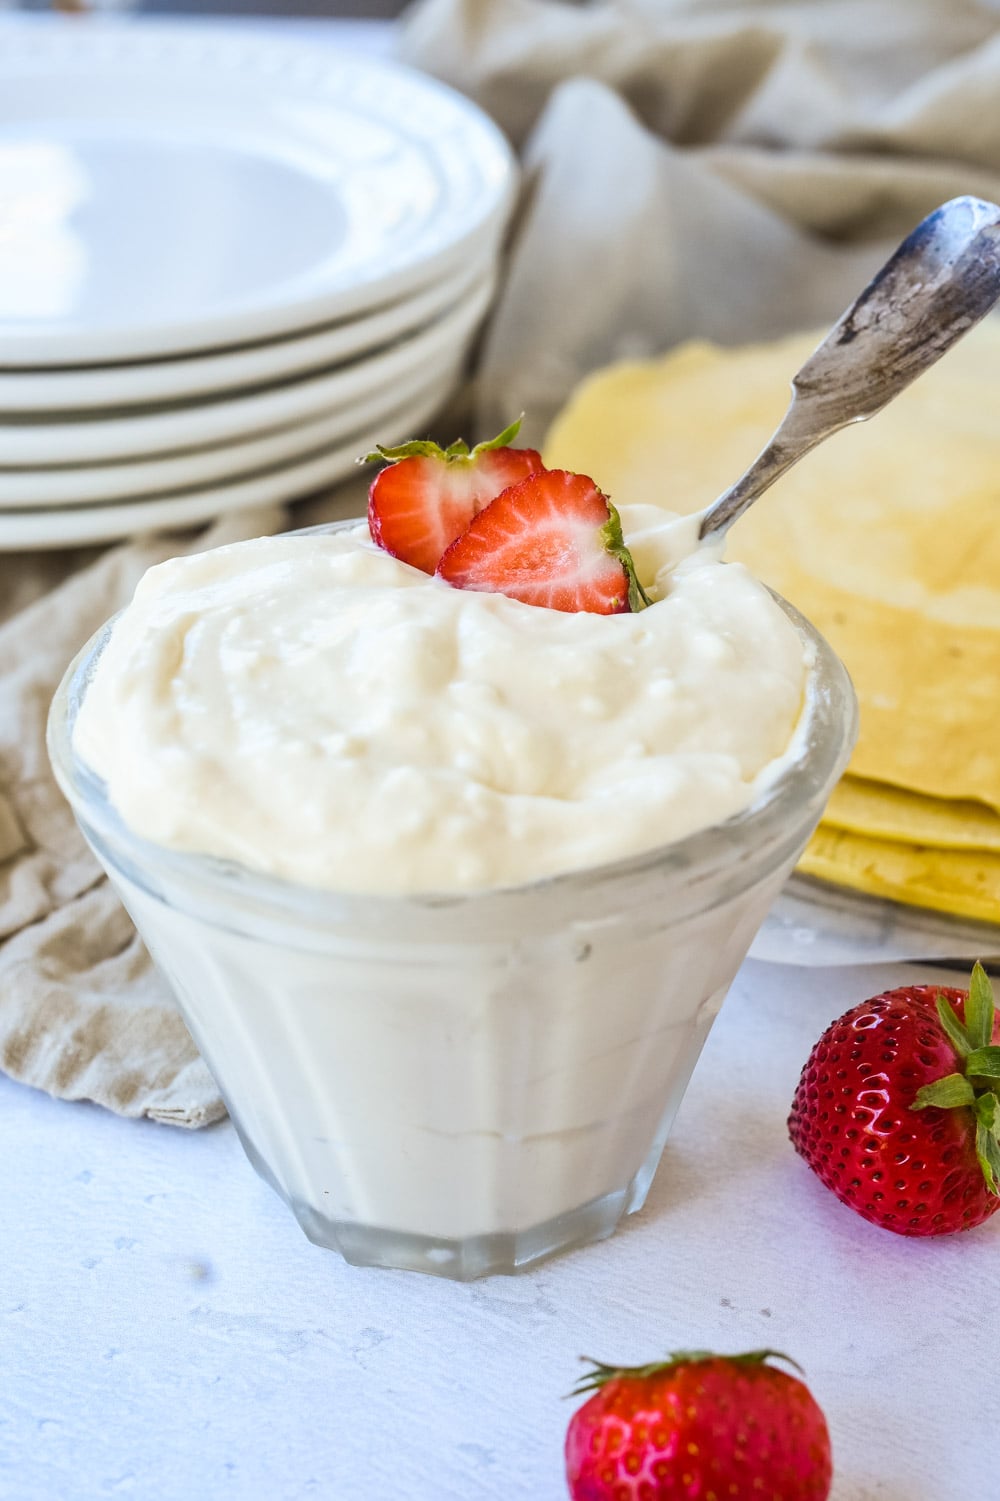
white chocolate mousse crepe filling

White Chocolate Mousse Crepe Filling Recipe

For the shower I made three different crepe fillings.  My favorite of the three fillings I made was the White Chocolate Mousse. But the filling that disappeared the fastest was the Cream Cheese Mousse.  They were all so good. I may or may not have eaten some of the leftovers straight out of the bowl, with just a spoon, no crepe.  I also made a chocolate mousse filling.

The great thing about the mousse filling is I could make them all the night before and just keep them in the refrigerator until the morning of the shower.

Check out these other crepe related posts:

Easy French Crepe Recipe

How to Fold a Crepe

Triple Berry Crepes

Crepe Bar Bridal Shower

Check out more delicious dinner ideas on my Facebook page and follow me on Instagram.


Cream Cheese Mousse Crepe Filling Recipe

Cream Cheese Mousse

Everyone knows that the best part of a crepe is what is inside. This easy cream cheese crepe filling is the perfect thing to fill your crepe with.

  • 1 1/2 cup heavy cream (divided)
  • 4 oz. cream cheese (cut into 1 inch chunks)
  • 3/4 cup sugar (divided)
  • 1/3 cup sour cream or Greek yogurt (I used Greek yogurt)
  • 1 tsp vanilla
  1. In a small pan heat together 1/2 cup of cream, cream cheese, and 1/2 C sugar over medium heat Stir frequently until the cream cheese is melted and mixture is smooth
  2. Put into a bowl and allow to cool to room temperature
  3. In your mixer, beat the 1 cup cream with the yogurt or sour cream, add remaining 1/4 cup sugar and vanilla until medium peaks form

  4. Fold the two mixtures together.

  5. Cover and refrigerate until ready to serve

White Chocolate Mousse Crepe Filling Recipe

White Chocolate Mousse Crepe Filling
A light and sweet delicious white chocolate mousse crepe filling. Just add some strawberries!

  • 1 cup milk (2% or whole milk)
  • 1/3 cup sugar
  • 2 Tbsp cornstarch
  • 1 egg yolk
  • 1 tsp vanilla
  • 1 Tbsp butter
  • 4 oz. white chocolate (chopped)
  • 1/2 tsp gelatin
  • 1 Tbsp cold water
  • 1 cup heavy cream
  • 2 Tbsp powdered sugar
  • 1 tsp vanilla
  1. In a medium sauce pan combine milk, cornstarch, sugar and egg yolk. Mix together and cook over medium low heat. Stir constantly and don't let it boil. It will thicken up.

  2. Remove from heat and add in vanilla, butter and white chocolate. Stir until chocolate is melted.

  3. Cover with plastic and chill for 3-4 hours or overnight.

  4. In a small bowl combine gelatin and water. Let it stand for five minutes, then microwave for 10 seconds to liquefy it. Cool to room temperature.

  5. In a medium bowl, combine heavy cream, powdered sugar and vanilla. Beat until medium peaks form.

  6. Fold the whipped cream mixture into the white chocolate mixture.

  7. Cover and chill for one hour.

Originally posted June 3, 2011
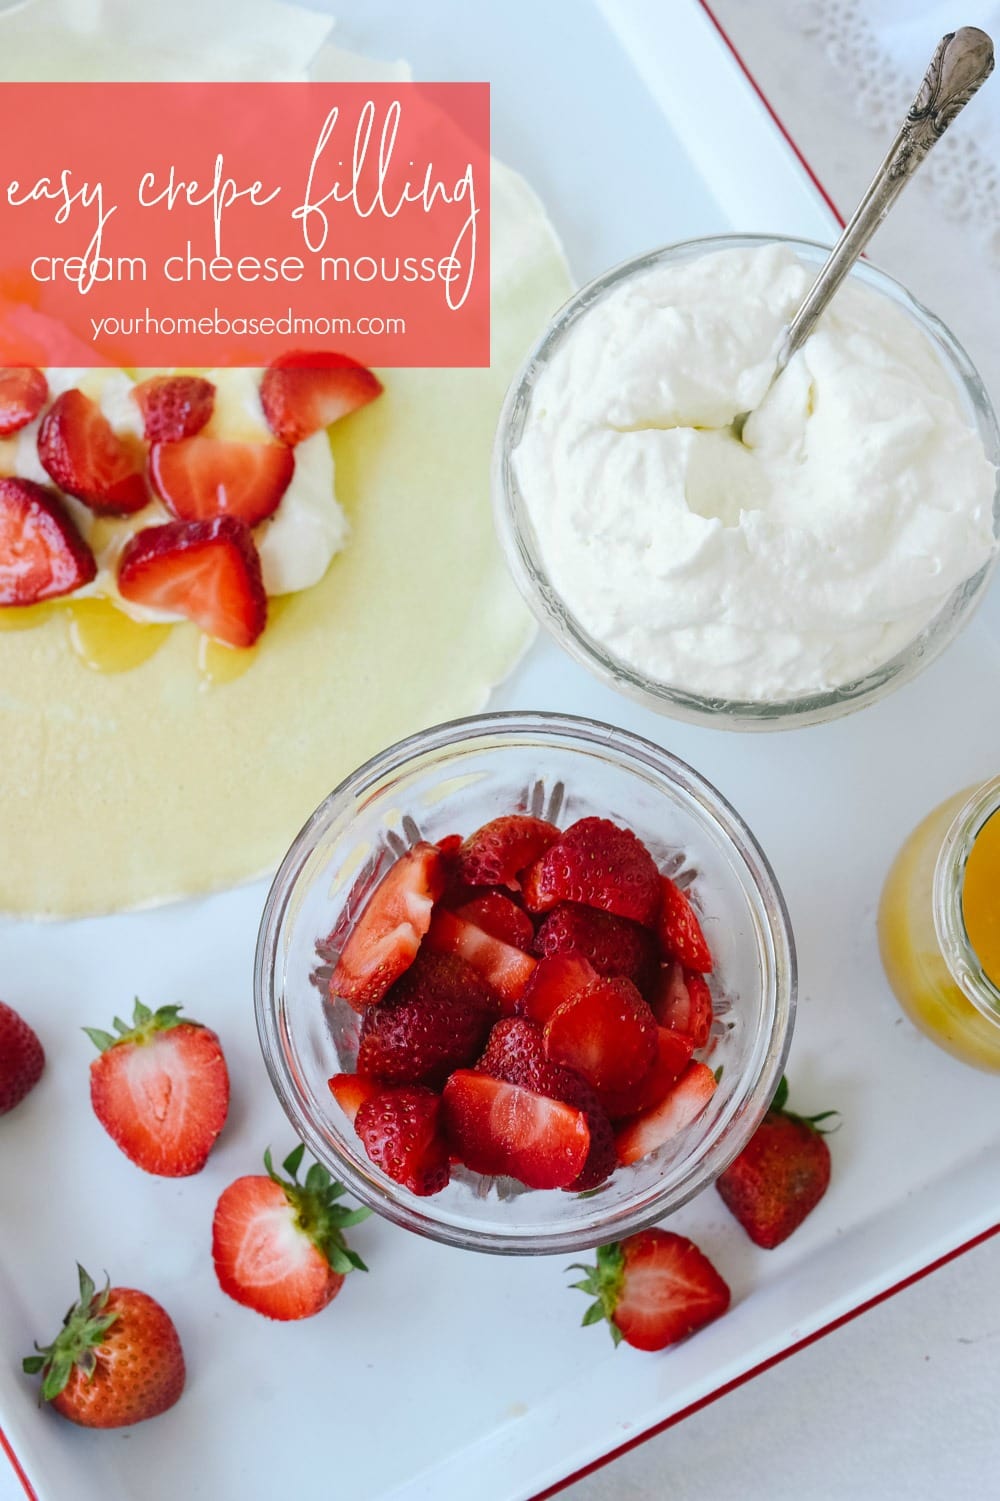
cream cheese crepe filling in a bowl

Continue reading Crepe Filling Recipe. This post is from Your Homebased Mom. If you are not reading it from our feed, it has been STOLEN. Please contact Leigh Anne to let us know. Enjoy the posts.


from Your Homebased Mom https://ift.tt/2zJA97D
via IFTTThttps://ift.tt/2PwgOSn

martes, 20 de agosto de 2019

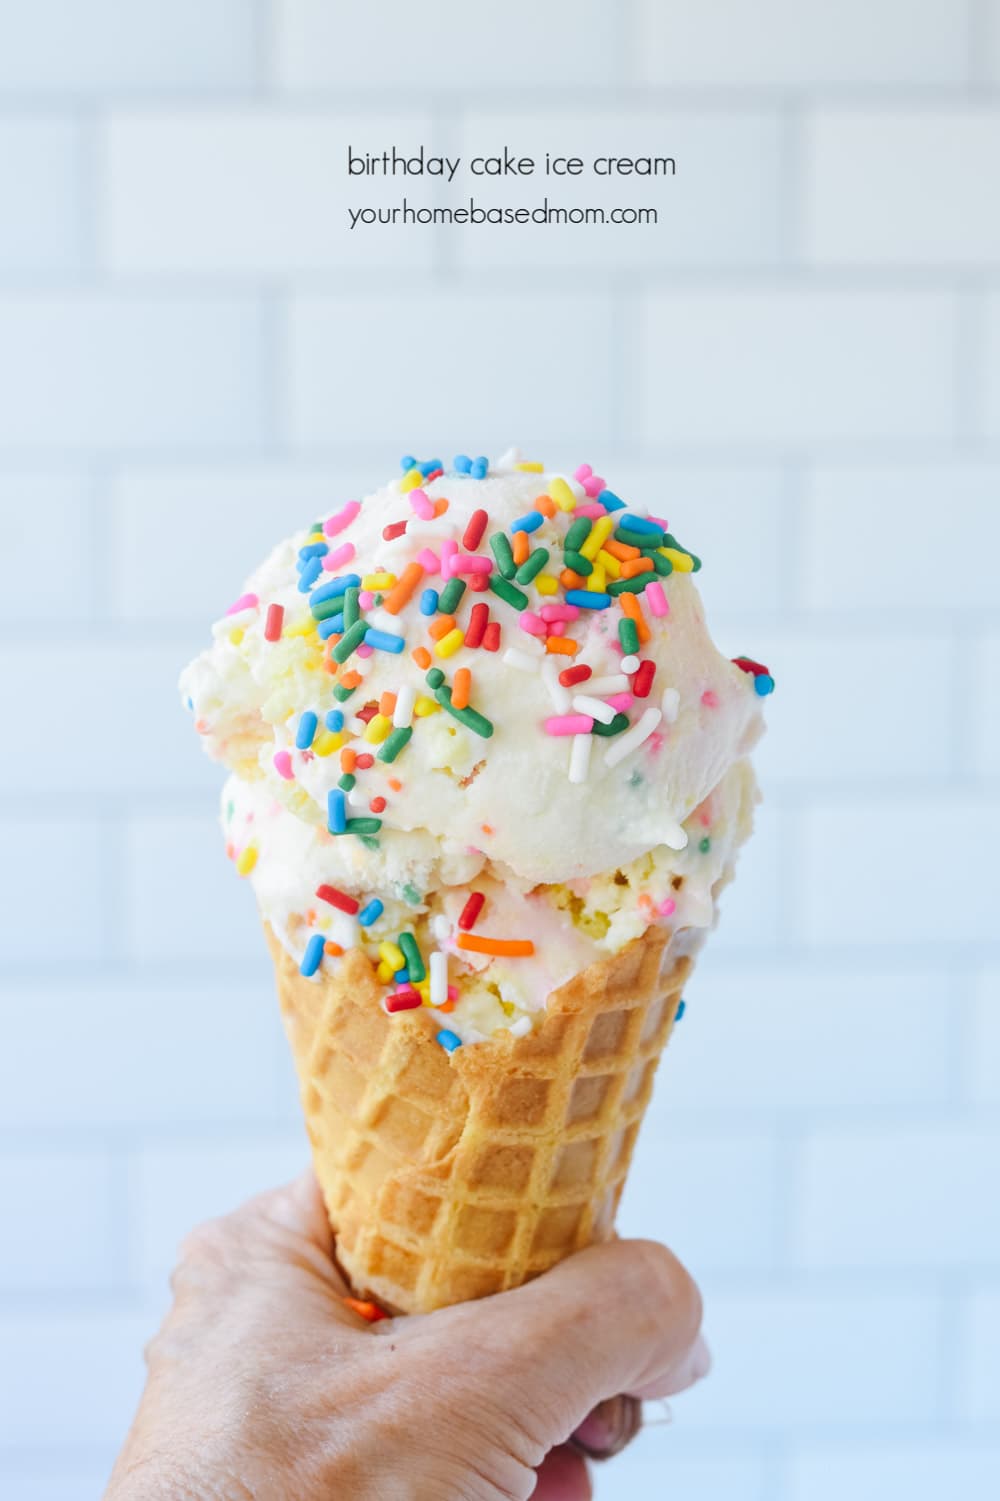
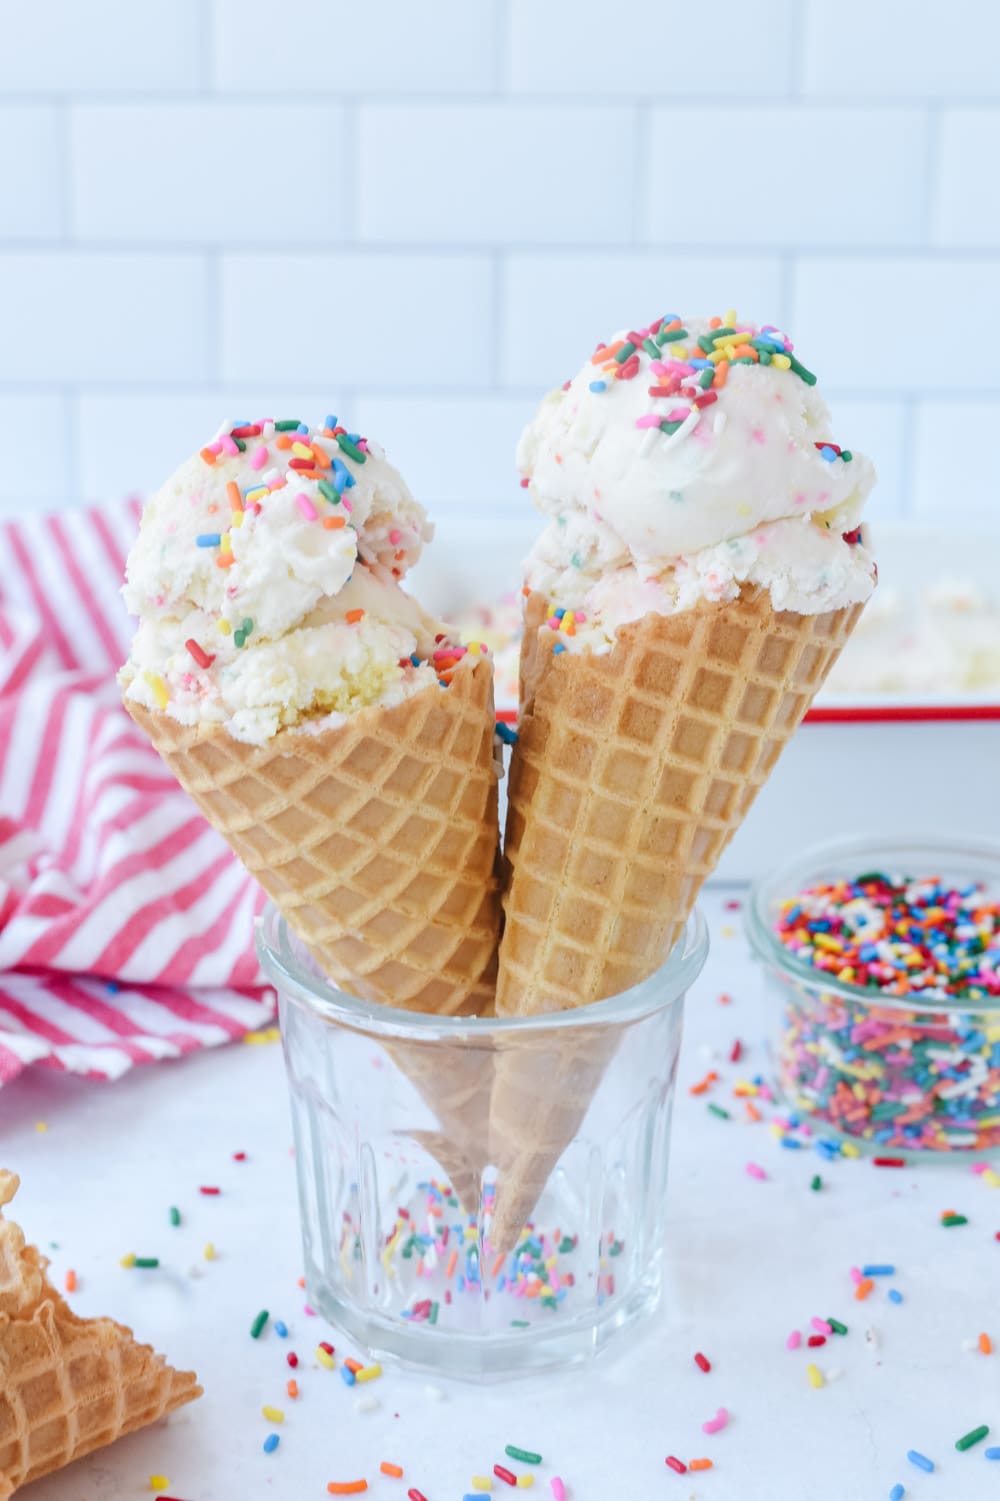
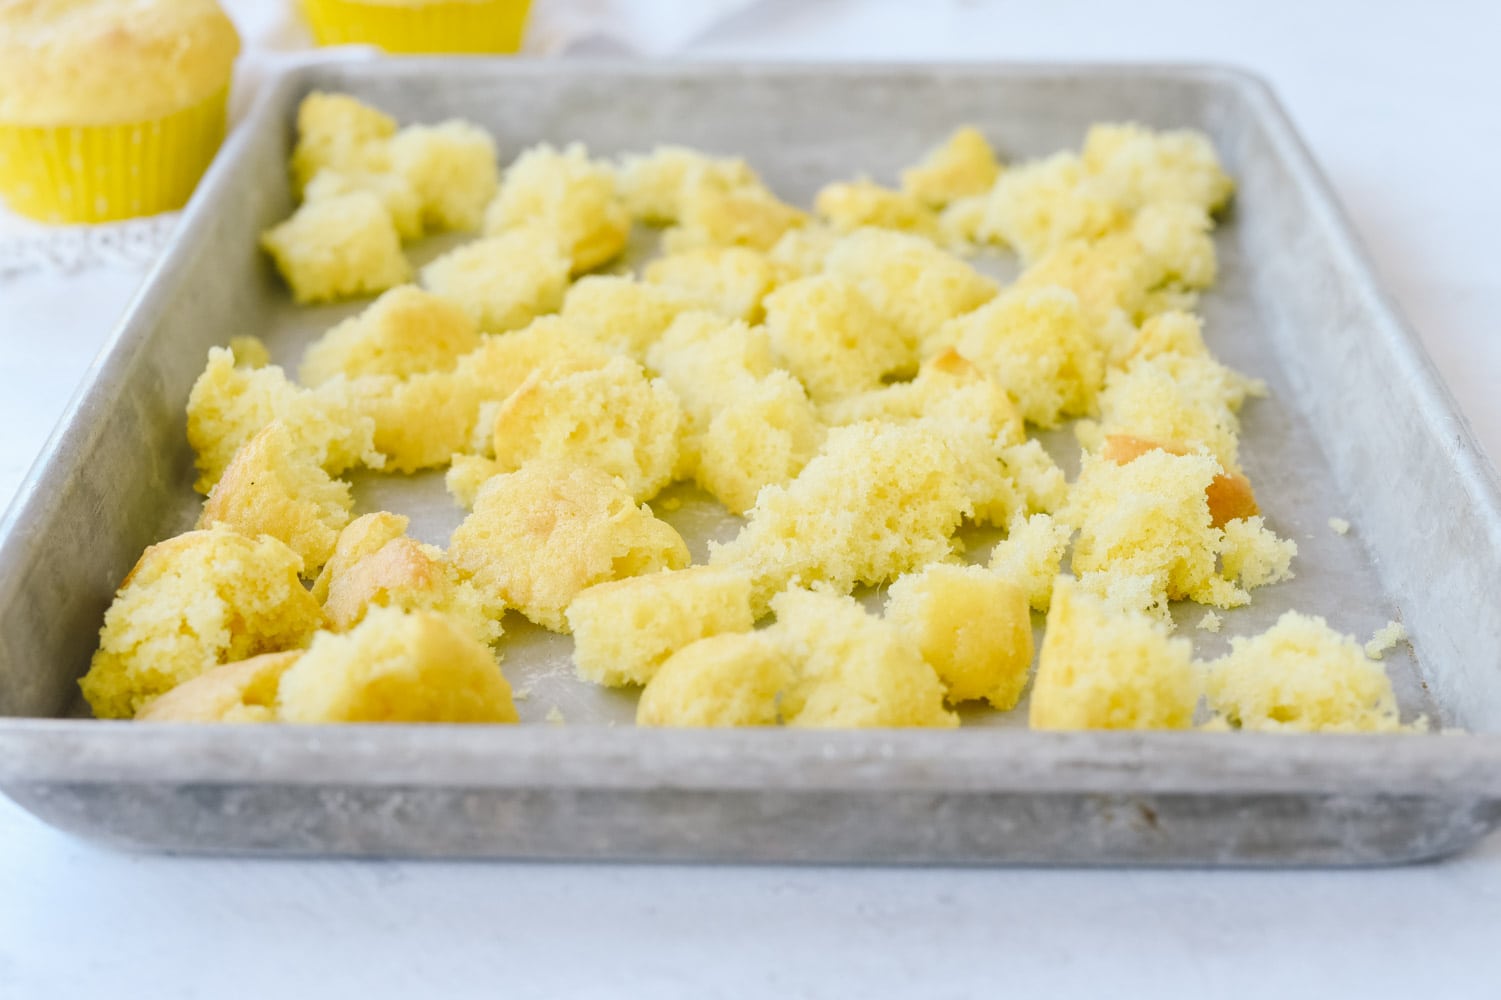
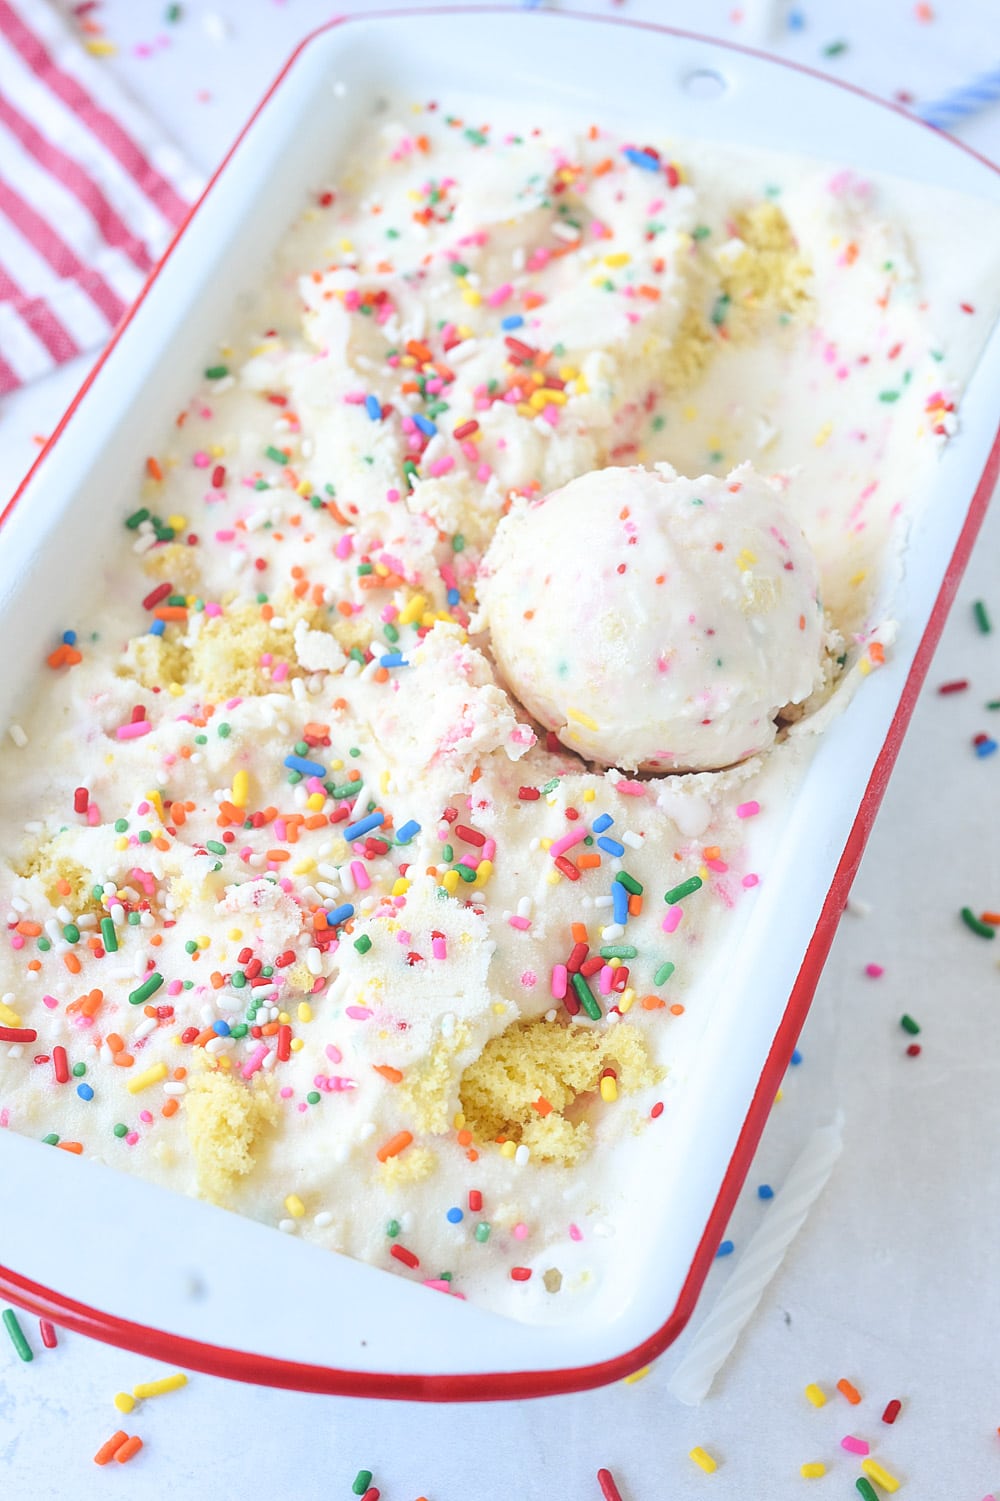
Birthday Cake Ice Cream Birthday Cake Ice Cream is the perfect way to combine your favorite birthday treats all in one bite.  Don’t wait for someone’s birthday to enjoy this creamy delicious treat!(Jump to Recipe) Do you like ice cream with your cake?  I know there are definitely cake people out there that feel like cake and ice cream should not be eaten together and I have to admit that I kind of agree with them, especially when it is really good cake.  I love to enjoy the cake all my itself.  Now when it comes to pie, ice cream is required!  But there are times when I love a scoop of ice cream with my cake and that is usually when we are celebrating a birthday. This Birthday Cake Ice Cream is a perfect combination,  bites of delicious cake along with the creamy, deliciousness of ice cream and of course sprinkles!  Don’t sprinkles just make everything better and more fun.    Sprinkles just make me smile and I love the little bit of crunch they give the ice cream.    I always save a few to sprinkle on top right before serving. How to Make Birthday Cake Ice Cream The base for this ice cream is vanilla.  I used my favorite vanilla ice cream recipe and added in a 1/2 cup of dry yellow cake mix to give the ice cream some cake flavor. With the remaining 2 1/2 cups of cake mix, I used 2 of the cups to make half a batch of cupcakes, I used 3 of those cupcakes in the ice cream. For a half a batch of cupcakes you will need 2 cups of cake mix, 2 eggs, 2/3 cup of water and 4 Tbsp oil.  Combine, mix and bake  according the directions on the box. After the cupcakes have cooled tear 3 cupcakes into pieces and place on a baking sheet and freeze. Mix together your ice cream mixture with the 1/2 cup of dry cake mix and put into your ice cream maker, process according to manufacturer’s directions. When the ice cream is almost done churning, add in the frozen cake pieces and 1/2 cup of sprinkles. Mix just long enough to combine the cake and sprinkles into the ice cream.  Do not over churn as this will break down the pieces of cake. Put the ice cream into a freezer container and allow it to set up for several hours or overnight before serving. Can I use store bought cupcakes for Birthday Cake Ice Cream? You absolutely may, you can purchase store bought frosted cupcakes if your prefer.  I didn’t put frosting on my cupcakes but if you are a frosting fan, go for it!  Since I was opening a cake mix to add some of the dry mix into my ice cream I found it was just easier to make my own cupcakes rather than go to the store and buy some.  You will only use three of the cupcakes in the ice cream so you will have some leftover to enjoy! Freezing the pieces of cupcake before adding them to the ice cream helps them not totally crumble and break apart in the ice cream.  You want chunks of cake in your ice cream!  Save a few sprinkles to add to the top of the ice cream before serving. Don’t wait for someone’s birthday to enjoy this birthday cake ice cream!  Find a reason to celebrate today!! This is my favorite ice cream maker. Some of my other favorite ice cream recipes are: Nutella  Ice Cream Lemon Ice Cream Fresh Blueberry Ice Cream   Birthday Cake Ice Cream Recipe Birthday Cake Ice Cream Birthday Cake Ice Cream is the perfect way to combine your favorite birthday treats all in one bite.  Don't wait for someone's birthday to enjoy this creamy delicious treat! Ice Cream 1 1/2 cups whole milk 1 1/2 cups half and half 2 cups whole milk 1 cup sugar 1/4 tsp salt 1 1/2 Tbsp vanilla 1/2 cup yellow cake mix (dry) 3 yellow cupcakes (cut into pieces and frozen) 1/2 cup rainbow sprinkles Cupcakes 2 cups dry yellow cake mix 2 eggs 2/3 cup water 4 Tbsp oil Cupcakes Combine 2 cups dry yellow cake mix with eggs, water and oil. Mix to combine. Set aside 1/2 cup of cake mix for ice cream. You will have 1/2 cup unused cake mix. Fill lined muffin tins and bake according to directions on cake mix. Allow to cool Ice Cream Combine all ice cream ingredients except for pieces of cupcake and sprinkles. Process ice cream until almost finished according to manufacturers directions. Add in frozen cake pieces and sprinkles and process for a few more minutes to combine ingredients. Do not over process and cause cake to crumble. Place ice cream in a freezer container and allow to set up for several hours or overnight.       Continue reading Birthday Cake Ice Cream. This post is from Your Homebased Mom. If you are not reading it from our feed, it has been STOLEN. Please contact Leigh Anne to let us know. Enjoy the posts.

Birthday Cake Ice Cream is the perfect way to combine your favorite birthday treats all in one bite.  Don’t wait for someone’s birthday to enjoy this creamy delicious treat!(Jump to Recipe)
BIrthday Cake Ice Cream Con

Do you like ice cream with your cake?  I know there are definitely cake people out there that feel like cake and ice cream should not be eaten together and I have to admit that I kind of agree with them, especially when it is really good cake.  I love to enjoy the cake all my itself.  Now when it comes to pie, ice cream is required!  But there are times when I love a scoop of ice cream with my cake and that is usually when we are celebrating a birthday.

Birthday Cake Ice Cream on a cone

This Birthday Cake Ice Cream is a perfect combination,  bites of delicious cake along with the creamy, deliciousness of ice cream and of course sprinkles!  Don’t sprinkles just make everything better and more fun.    Sprinkles just make me smile and I love the little bit of crunch they give the ice cream.    I always save a few to sprinkle on top right before serving.

Scoops of birthday cake ice cream
How to Make Birthday Cake Ice Cream

  • The base for this ice cream is vanilla.  I used my favorite vanilla ice cream recipe and added in a 1/2 cup of dry yellow cake mix to give the ice cream some cake flavor.
  • With the remaining 2 1/2 cups of cake mix, I used 2 of the cups to make half a batch of cupcakes, I used 3 of those cupcakes in the ice cream.
  • For a half a batch of cupcakes you will need 2 cups of cake mix, 2 eggs, 2/3 cup of water and 4 Tbsp oil.  Combine, mix and bake  according the directions on the box.
  • After the cupcakes have cooled tear 3 cupcakes into pieces and place on a baking sheet and freeze.

Torn up pieces of birthday cake

  • Mix together your ice cream mixture with the 1/2 cup of dry cake mix and put into your ice cream maker, process according to manufacturer’s directions.
  • When the ice cream is almost done churning, add in the frozen cake pieces and 1/2 cup of sprinkles. Mix just long enough to combine the cake and sprinkles into the ice cream.  Do not over churn as this will break down the pieces of cake.

Birthday Cake ice cream with sprinkles

Put the ice cream into a freezer container and allow it to set up for several hours or overnight before serving.

Can I use store bought cupcakes for Birthday Cake Ice Cream?

You absolutely may, you can purchase store bought frosted cupcakes if your prefer.  I didn’t put frosting on my cupcakes but if you are a frosting fan, go for it!  Since I was opening a cake mix to add some of the dry mix into my ice cream I found it was just easier to make my own cupcakes rather than go to the store and buy some.  You will only use three of the cupcakes in the ice cream so you will have some leftover to enjoy!

Birthday cake Ice cream in a pan

Freezing the pieces of cupcake before adding them to the ice cream helps them not totally crumble and break apart in the ice cream.  You want chunks of cake in your ice cream!  Save a few sprinkles to add to the top of the ice cream before serving.

Don’t wait for someone’s birthday to enjoy this birthday cake ice cream!  Find a reason to celebrate today!!

This is my favorite ice cream maker.

Some of my other favorite ice cream recipes are:

Nutella  Ice Cream

Lemon Ice Cream

Fresh Blueberry Ice Cream


Birthday Cake Ice Cream Recipe

Birthday Cake Ice Cream

Birthday Cake Ice Cream is the perfect way to combine your favorite birthday treats all in one bite.  Don't wait for someone's birthday to enjoy this creamy delicious treat!

Ice Cream

  • 1 1/2 cups whole milk
  • 1 1/2 cups half and half
  • 2 cups whole milk
  • 1 cup sugar
  • 1/4 tsp salt
  • 1 1/2 Tbsp vanilla
  • 1/2 cup yellow cake mix (dry)
  • 3 yellow cupcakes (cut into pieces and frozen)
  • 1/2 cup rainbow sprinkles

Cupcakes

  • 2 cups dry yellow cake mix
  • 2 eggs
  • 2/3 cup water
  • 4 Tbsp oil

Cupcakes

  1. Combine 2 cups dry yellow cake mix with eggs, water and oil. Mix to combine. Set aside 1/2 cup of cake mix for ice cream. You will have 1/2 cup unused cake mix.

  2. Fill lined muffin tins and bake according to directions on cake mix. Allow to cool

Ice Cream

  1. Combine all ice cream ingredients except for pieces of cupcake and sprinkles.

  2. Process ice cream until almost finished according to manufacturers directions.

  3. Add in frozen cake pieces and sprinkles and process for a few more minutes to combine ingredients. Do not over process and cause cake to crumble.

  4. Place ice cream in a freezer container and allow to set up for several hours or overnight.


Continue reading Birthday Cake Ice Cream. This post is from Your Homebased Mom. If you are not reading it from our feed, it has been STOLEN. Please contact Leigh Anne to let us know. Enjoy the posts.


from Your Homebased Mom https://ift.tt/2MqpuY8
via IFTTThttps://ift.tt/2KWirmH

sábado, 17 de agosto de 2019

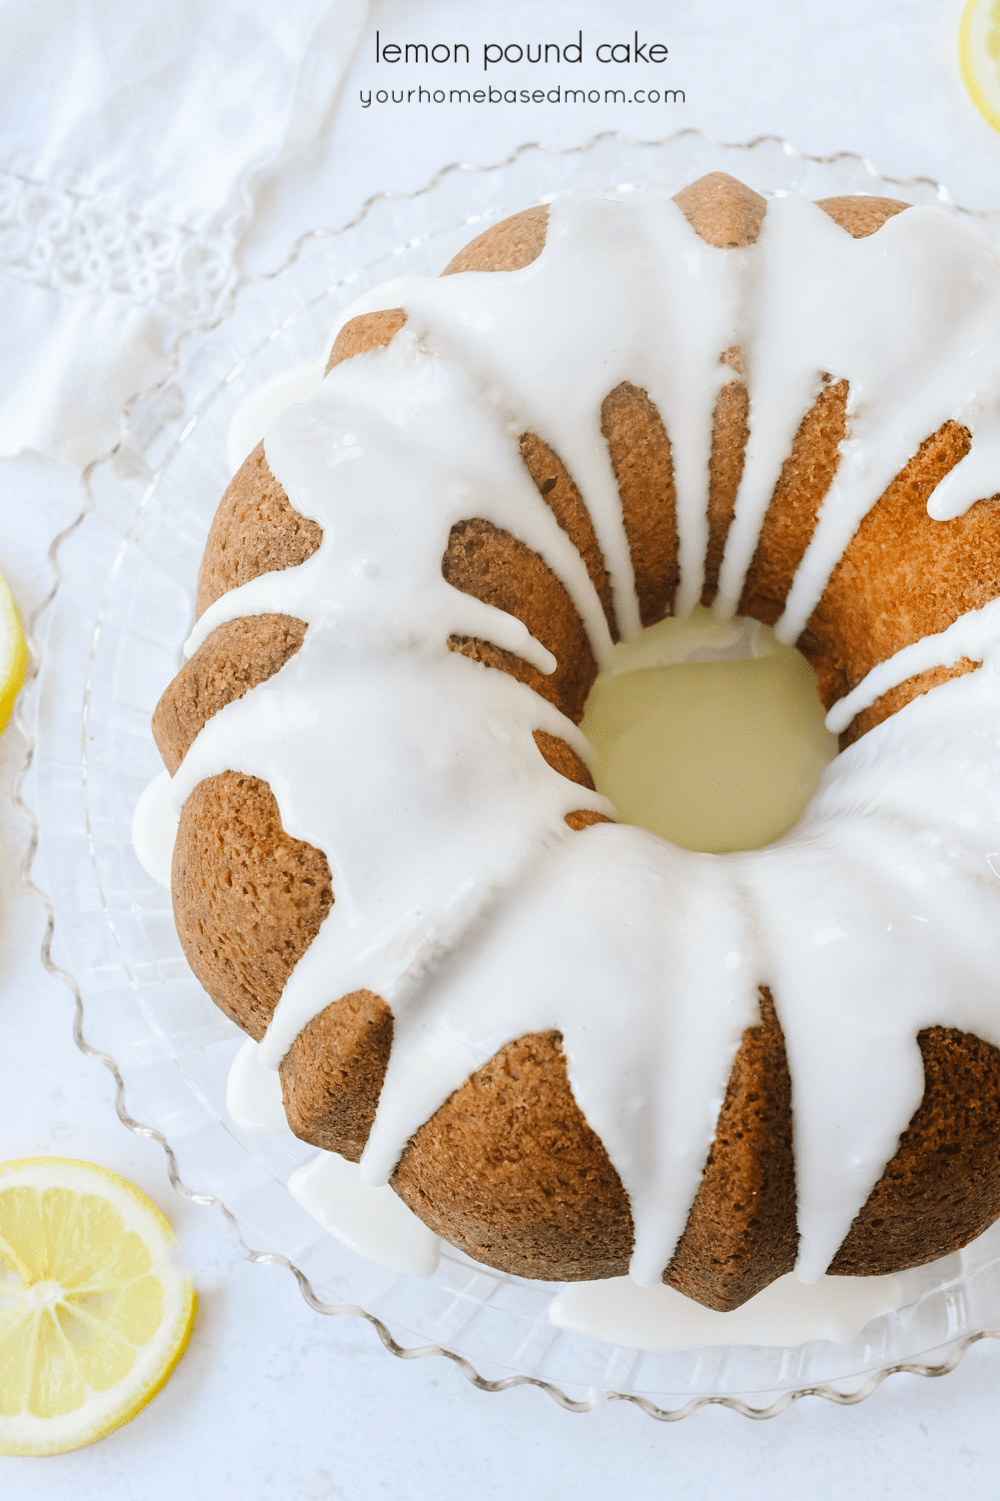
Lemon Pound Cake Lemon Pound Cake is a perfectly lovely dessert, suitable for any gathering or tea party. I recently enjoyed lunch with a friend at a fun little student run cafe at the School of Arts & Crafts on the west side of Portland.  The menu is limited but always amazing.  And they use fresh, local ingredients. The day we were there they served a yummy lemon pound cake with lemon curd and whip cream.  My friend had to stop me from licking the plate!  We had decided to split a piece and did I regret that decision! The cake was delicious but the addition of the lemon curd was truly amazing.  I knew I needed to come up with my own version to make at home. What is pound cake? I would describe pound cake as a cross between cake and a quick bread. It has a nice dense texture to it. Pound cake has historically referred to a cake that is traditionally made with a pound of butter, flour, eggs and sugar. The first pound cake recipes is said to date back to the 1700’s and pound cake first made it’s appearance in America in 1796.   This recipe does not contain a pound of butter, eggs or sugar. It is an adaptation of a traditional pound cake. How to Make Lemon Pound Cake Butter is an important ingredient in pound cake so be sure and use a good quality butter, don’t buy the generic store brand. Only mix your ingredients until incorporated.  Over mixing the batter can cause the cake to be tough. If you are using a bundt cake pan, be sure to spray the pan liberally with a non stick baking spray and then give it a light coat of flour.  This will help you to get the cake out in one piece.  I love this brand of cooking spray. I love to add a glaze to my lemon pound cake to give it even more amazing lemon flavor.  Just add enough lemon juice to some powdered sugar to give it a nice drizzling consistency.  Adding in a little milk or whipping cream will give it a creamier consistency.  See recipe below. To change things up a bit, I mixed the whipped cream and lemon curd together to create a delicious lemon whipped cream.  Serve each slice of lemon pound cake with a spoonful of the lemon whipped cream and some fresh raspberries on top.  Any kind of berry would be delicious with this. You can purchase lemon curd at the store to add into your whipped cream or you can easily make it at home too.  Check out my delicious lemon curd recipe. If you need a bundt pan, check out this one. If you love lemon desserts, check out these other lemon treats I love: Lemon Oatmeal Cookies Swedish Lemon Pancakes Lemon Blueberry Coffee Cake Check out more delicious dinner ideas on my Facebook page and follow me on Instagram Lemon Pound Cake Recipe Lemon Pound Cake Lemon Pound Cake is a perfectly lovely dessert, suitable for any gathering or tea party. Lemon Pound Cake 2 C sugar 1 C butter (softened) 4 eggs 3 C flour 1/2 tsp baking powder 1/2 tsp baking soda 1/2 tsp salt 3/4 C buttermilk 1 Tbsp freshly grated lemon peel 1 Tbsp fresh lemon juice Lemon Glaze 1 1/4 C powdered sugar 2 tsp lemon juice 1-2 Tbsp milk Heat oven to 350 degrees.   Combine sugar and butter in large bowl. Beat at medium speed, scraping bowl often, until creamy.  Continue beating, adding eggs one at a time, until well mixed.  Reduce speed to low. Gradually adding flour, baking powder, baking soda and salt alternately with buttermilk and scraping bowl often, until well mixed.  Add lemon peel and 1 Tbsp lemon juice. Continue beating until well mixed. Spread batter into a greased and flour 12 cup Bundt pan or a 10 inch angel food cake pan.   Bake for 55-65 minutes or until toothpick inserted in center comes out clean.   Cool for 10 minutes, then remove from pan and cool completely. Lemon Glaze Stir together powdered sugar, 2 tsp lemon juice and enough milk for desired glazing consistency in small bowl.   Drizzle over cooled cake.   originally posted April 2014 If you love lemon desserts, check out these other lemon treats: Lemon Oatmeal Cookies Swedish Lemon Pancakes Lemon Blueberry Coffee Cake Continue reading Lemon Pound Cake. This post is from Your Homebased Mom. If you are not reading it from our feed, it has been STOLEN. Please contact Leigh Anne to let us know. Enjoy the posts.

Lemon Pound Cake is a perfectly lovely dessert, suitable for any gathering or tea party.

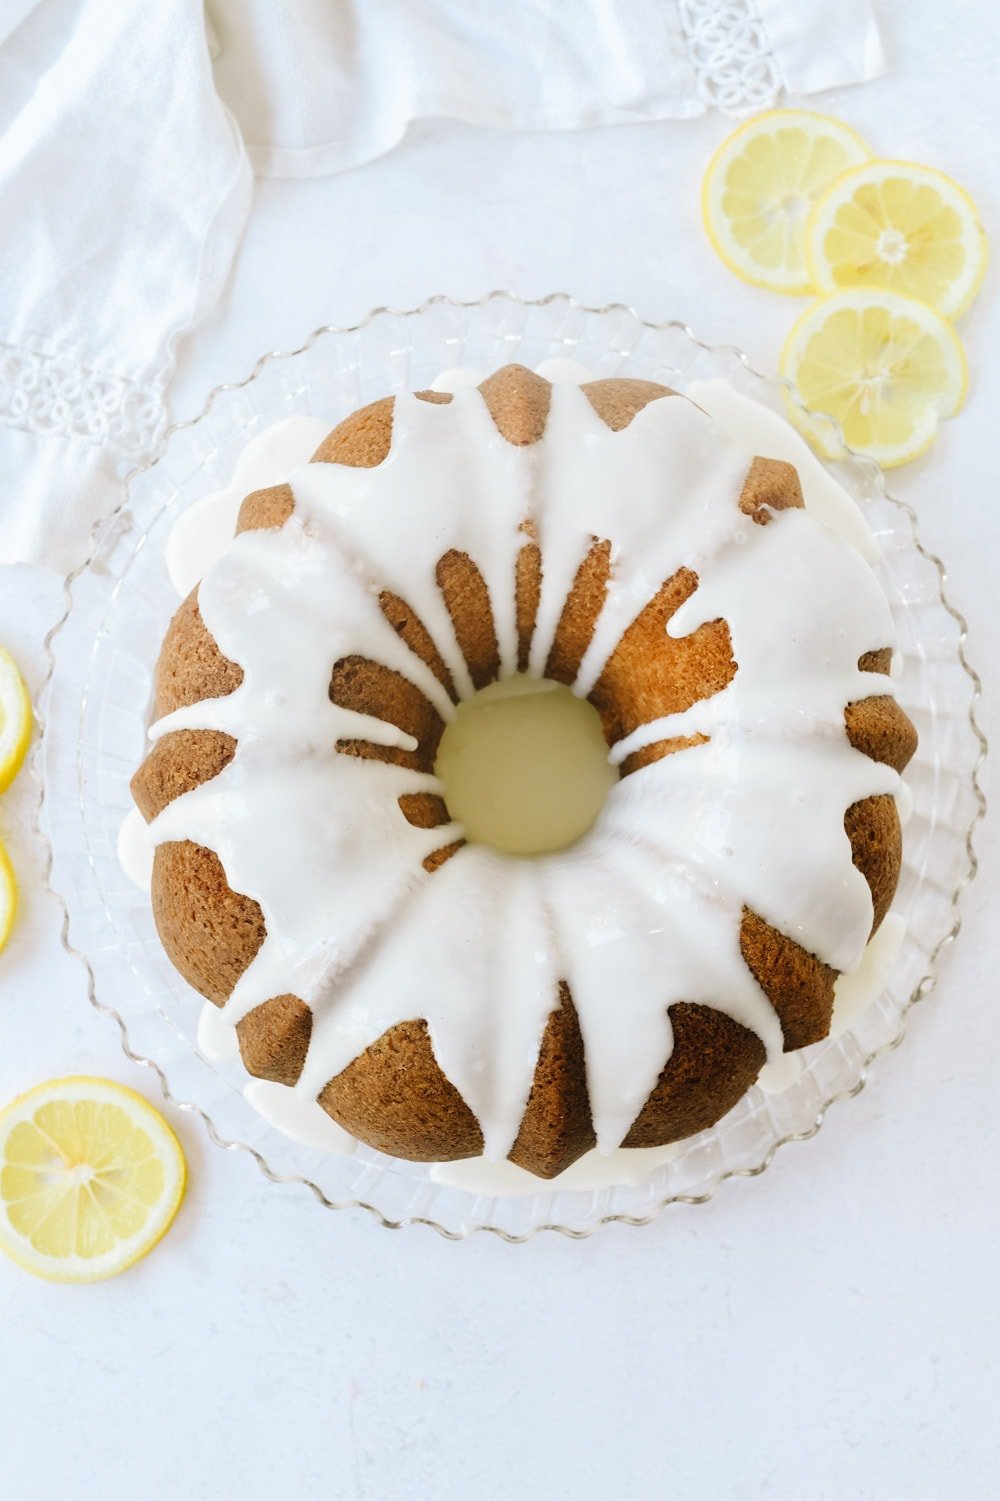
overhead view of a lemon pound cake

I recently enjoyed lunch with a friend at a fun little student run cafe at the School of Arts & Crafts on the west side of Portland.  The menu is limited but always amazing.  And they use fresh, local ingredients.

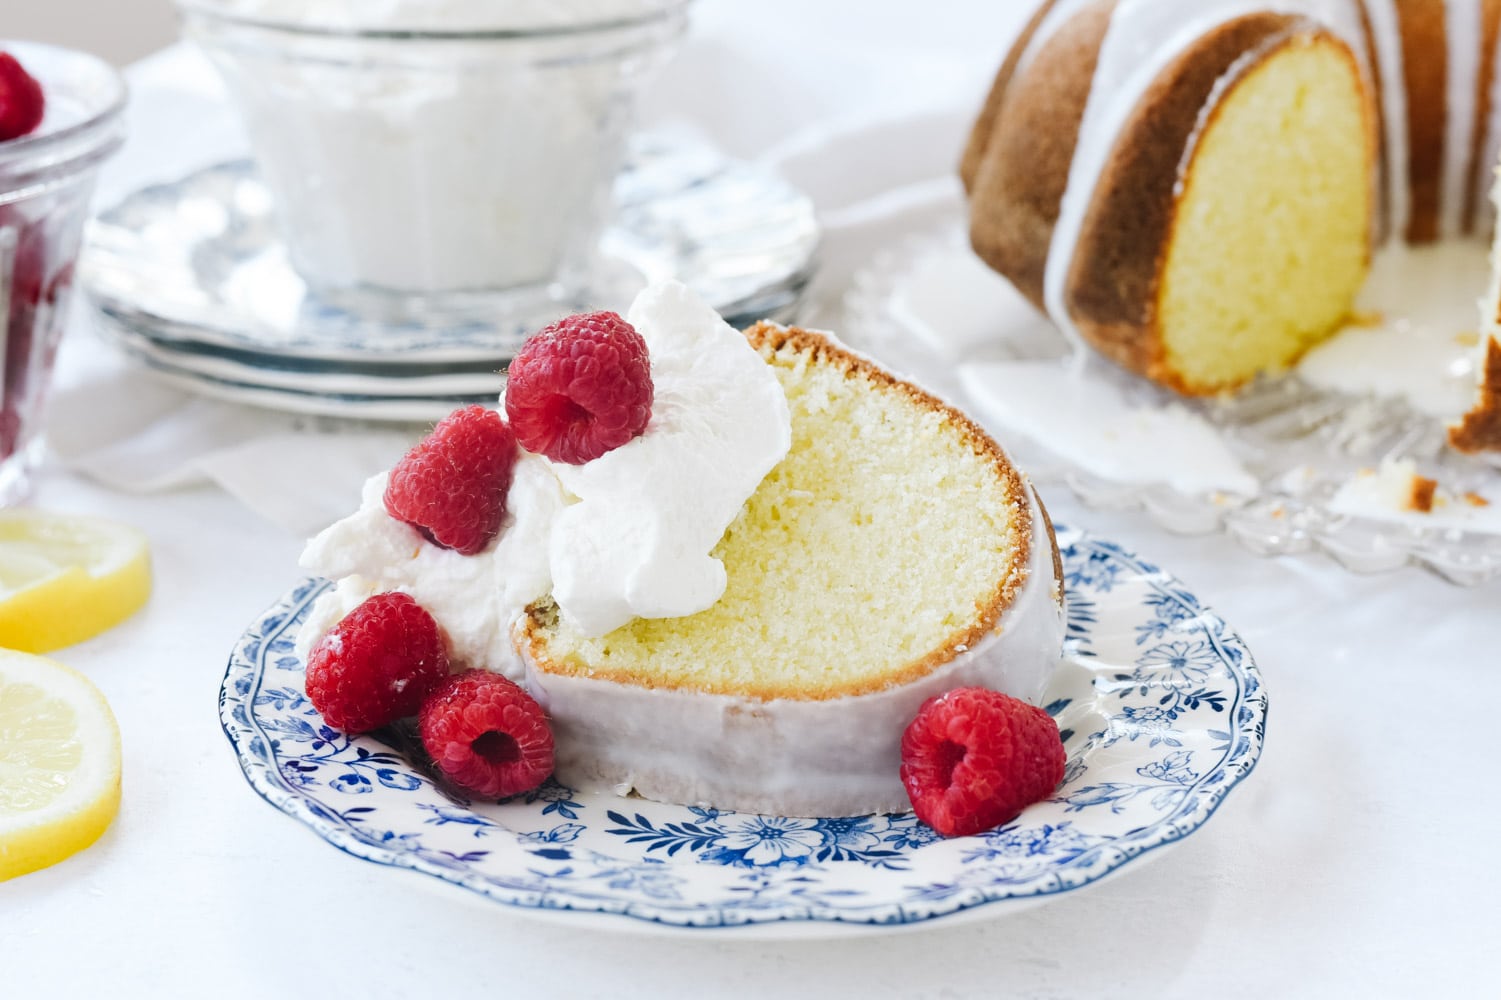
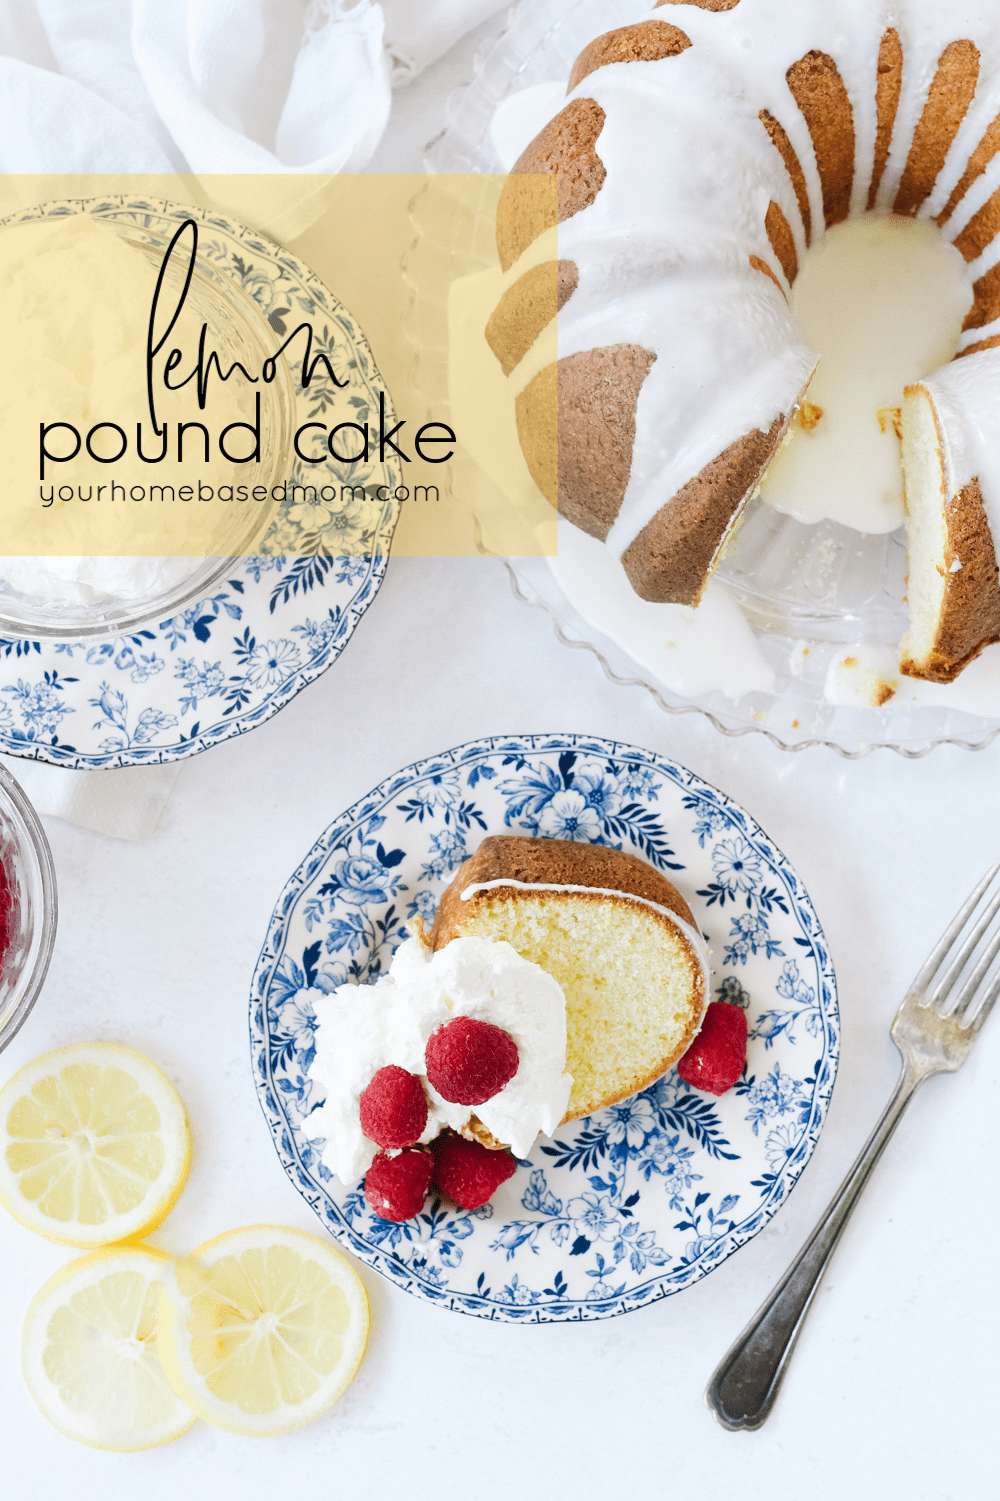
lemon pound cake with raspberries

The day we were there they served a yummy lemon pound cake with lemon curd and whip cream.  My friend had to stop me from licking the plate!  We had decided to split a piece and did I regret that decision! The cake was delicious but the addition of the lemon curd was truly amazing.  I knew I needed to come up with my own version to make at home.

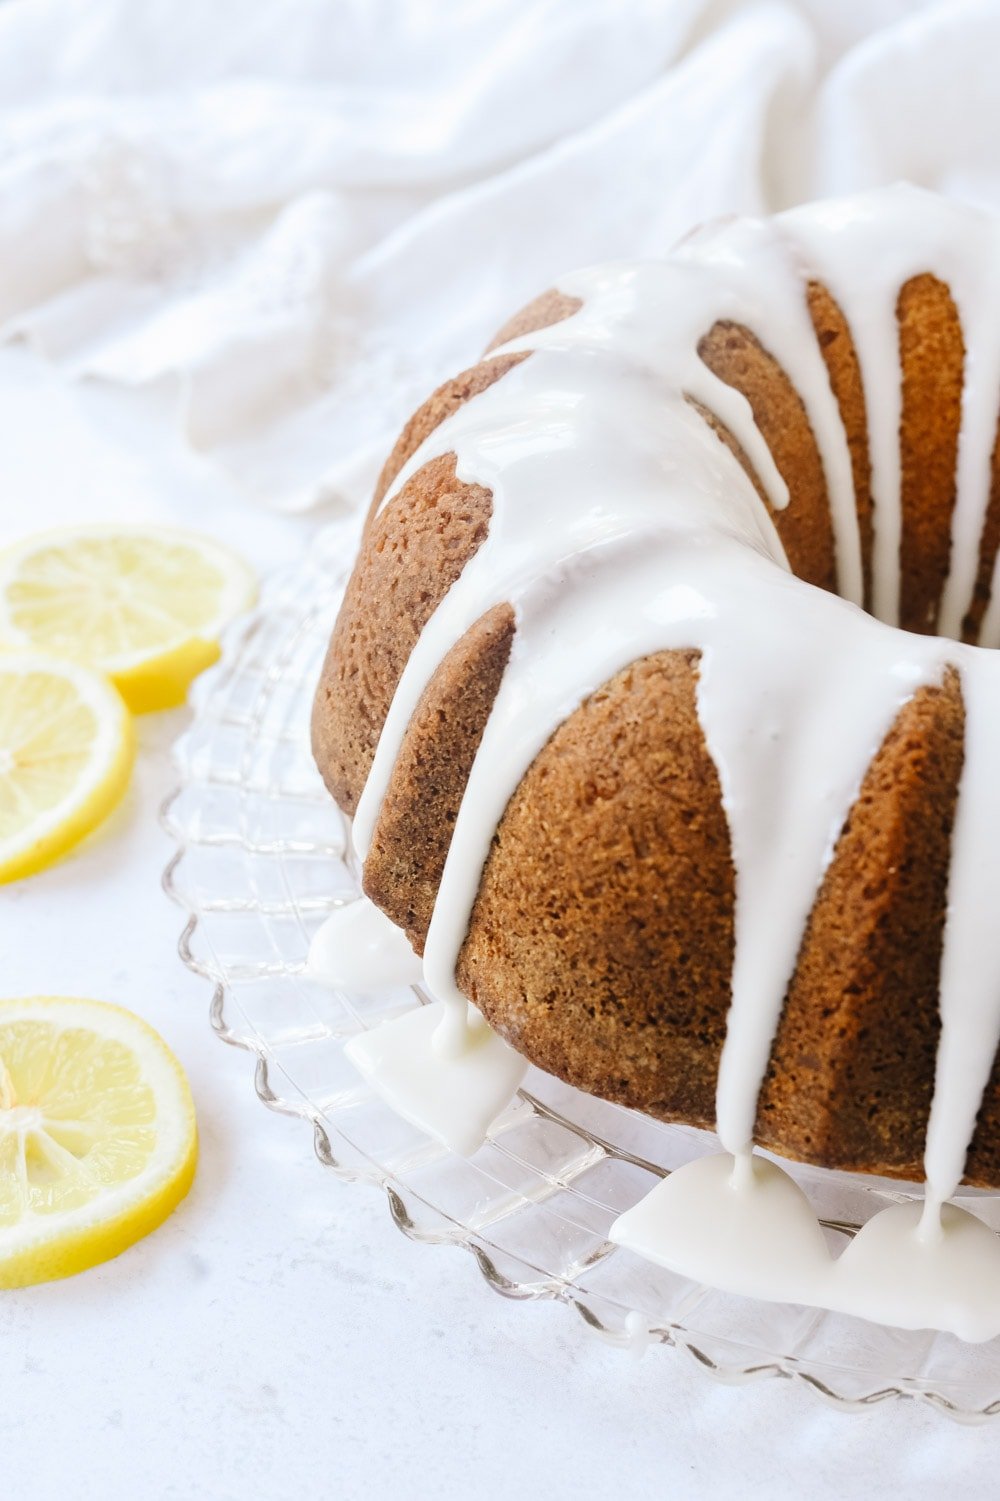
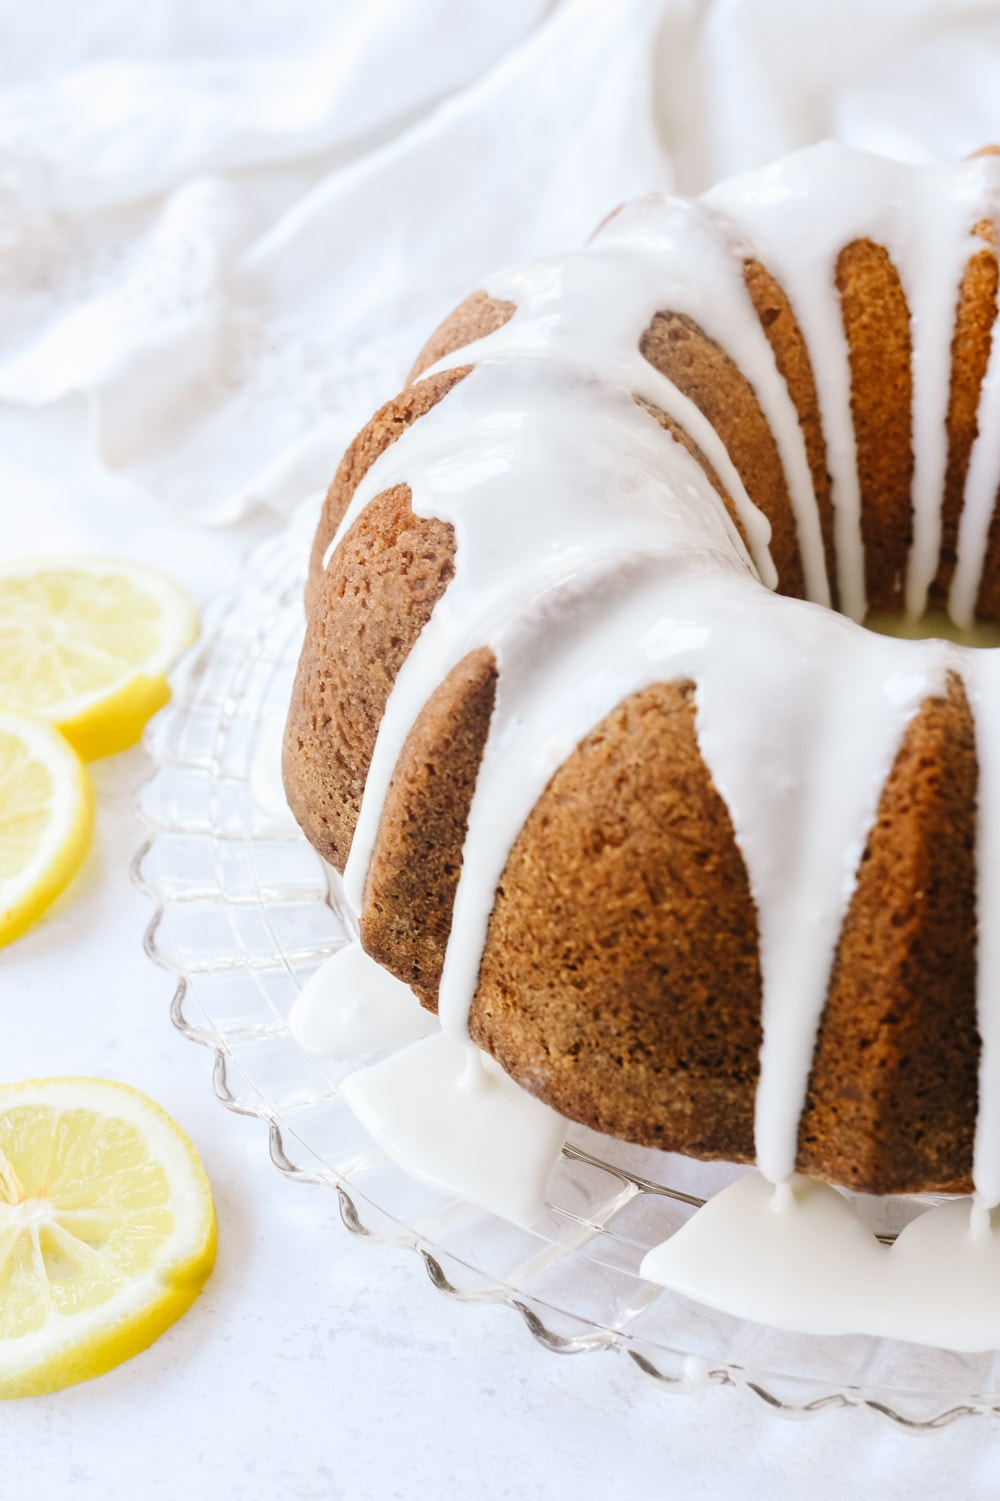
lemon pound cake with drizzle

What is pound cake?

I would describe pound cake as a cross between cake and a quick bread. It has a nice dense texture to it. Pound cake has historically referred to a cake that is traditionally made with a pound of butter, flour, eggs and sugar. The first pound cake recipes is said to date back to the 1700’s and pound cake first made it’s appearance in America in 1796.   This recipe does not contain a pound of butter, eggs or sugar. It is an adaptation of a traditional pound cake.

entire lemon pound cake

How to Make Lemon Pound Cake

  • Butter is an important ingredient in pound cake so be sure and use a good quality butter, don’t buy the generic store brand.
  • Only mix your ingredients until incorporated.  Over mixing the batter can cause the cake to be tough.
  • If you are using a bundt cake pan, be sure to spray the pan liberally with a non stick baking spray and then give it a light coat of flour.  This will help you to get the cake out in one piece.  I love this brand of cooking spray.
  • I love to add a glaze to my lemon pound cake to give it even more amazing lemon flavor.  Just add enough lemon juice to some powdered sugar to give it a nice drizzling consistency.  Adding in a little milk or whipping cream will give it a creamier consistency.  See recipe below.

slice of lemon pound cake

To change things up a bit, I mixed the whipped cream and lemon curd together to create a delicious lemon whipped cream.  Serve each slice of lemon pound cake with a spoonful of the lemon whipped cream and some fresh raspberries on top.  Any kind of berry would be delicious with this.

You can purchase lemon curd at the store to add into your whipped cream or you can easily make it at home too.  Check out my delicious lemon curd recipe.

lemon pound cake with glaze

If you need a bundt pan, check out this one.

If you love lemon desserts, check out these other lemon treats I love:

Lemon Pound Cake Recipe

Lemon Pound Cake

Lemon Pound Cake is a perfectly lovely dessert, suitable for any gathering or tea party.

Lemon Pound Cake

  • 2 C sugar
  • 1 C butter (softened)
  • 4 eggs
  • 3 C flour
  • 1/2 tsp baking powder
  • 1/2 tsp baking soda
  • 1/2 tsp salt
  • 3/4 C buttermilk
  • 1 Tbsp freshly grated lemon peel
  • 1 Tbsp fresh lemon juice

Lemon Glaze

  • 1 1/4 C powdered sugar
  • 2 tsp lemon juice
  • 1-2 Tbsp milk
  1. Heat oven to 350 degrees.  
  2. Combine sugar and butter in large bowl. Beat at medium speed, scraping bowl often, until creamy. 
  3. Continue beating, adding eggs one at a time, until well mixed. 

  4. Reduce speed to low. Gradually adding flour, baking powder, baking soda and salt alternately with buttermilk and scraping bowl often, until well mixed. 

  5. Add lemon peel and 1 Tbsp lemon juice. Continue beating until well mixed.

  6. Spread batter into a greased and flour 12 cup Bundt pan or a 10 inch angel food cake pan.  
  7. Bake for 55-65 minutes or until toothpick inserted in center comes out clean.  

  8. Cool for 10 minutes, then remove from pan and cool completely.

Lemon Glaze

  1. Stir together powdered sugar, 2 tsp lemon juice and enough milk for desired glazing consistency in small bowl.  

  2. Drizzle over cooled cake.


originally posted April 2014

lemon pound cake with whipped cream and berries

If you love lemon desserts, check out these other lemon treats:

Lemon Oatmeal Cookies

Swedish Lemon Pancakes

Lemon Blueberry Coffee Cake

Continue reading Lemon Pound Cake. This post is from Your Homebased Mom. If you are not reading it from our feed, it has been STOLEN. Please contact Leigh Anne to let us know. Enjoy the posts.


from Your Homebased Mom https://ift.tt/2TFoHTQ
via IFTTThttps://ift.tt/33Fi48H

jueves, 1 de agosto de 2019

Frozen Key Lime Pie A No Bake Frozen Key Lime Pie is the perfect solution to the summer heat.  A  tart, refreshing dessert is the perfect way to cool off. () I am a huge key lime fan. As far as I’m concerned it is the perfect summer dessert.  It’s light and refreshing and a little bit of puckery tartness.  Not too sour, not too sweet, just right. We had friends over the other night for a rousing round of pickle ball and this was the perfect dessert to help us cool off afterwards. What is a Key Lime? Key limes are also known as Mexican limes and were commonly grown in the Florida Keys (thus the name) until a hurricane wiped out the groves in  the 1920’s but they still kept the name.  Today they usually come from Mexico, Central or South America. A key lime is smaller and more yellow in color than a traditional lime. They are also tarter and the zest is more powerful and has a stronger lime aroma. Because they are smaller, it takes a lot more limes to produce the amount of juice you need. Since key limes can often be hard to find in the grocery store I love using the Nellie & Joe’s key lime juice you can find in the juice aisle of your grocery store.  It tastes great and it is so much easier than squeezing a bunch of little limes!! How To Make Frozen Key Lime Pie This no bake dessert starts with a graham cracker crust which is just a combination of graham cracker crumbs, butter and sugar.  Press it into a nine inch pie plate. The filling is a combination of sweetened condensed milk, key lime juice and lemon sorbet.  You could also use lime sorbet for even more lime goodness but the lemon was delicious.  This frozen key lime pie definitely has that tart lime flavor that a key lime pie should! I beat all the filling ingredients together in my kitchen aid until combined and the filling is smooth.  Don’t beat to much so you melt your sorbet!  Fill the pie crust and put in the freezer to firm up.  It will set up but not get super hard. I like to top it with a little fresh  whipped cream and lime slices. How long will Key Lime Pie keep? It will keep for 1-2 weeks in the freezer if covered with plastic wrap or foil. For a more traditional key lime pie check out my favorite key lime pie recipe here. Other favorite key lime dessert ideas: Key Lime Bars Key Lime Cake Key Lime Cookies Frozen Key Lime Pie Recipe     Author information Leigh Anne Hi – I’m Leigh Anne! Food, family and friends are three of my favorite things. I love sharing easy, delicious recipes and entertaining ideas that everyone will love. When she started her blog, Your Homebased Mom, over 9 years ago she had no idea that it would one day house over 2,400 recipes and ideas! . | Facebook | Google+ | Pinterest | Continue reading Frozen Key Lime Pie. This post is from Your Homebased Mom. If you are not reading it from our feed, it has been STOLEN. Please contact Leigh Anne to let us know. Enjoy the posts.

A No Bake Frozen Key Lime Pie is the perfect solution to the summer heat.  A  tart, refreshing dessert is the perfect way to cool off. ()

Frozen key lime pie in a dish

I am a huge key lime fan. As far as I’m concerned it is the perfect summer dessert.  It’s light and refreshing and a little bit of puckery tartness.  Not too sour, not too sweet, just right. We had friends over the other night for a rousing round of pickle ball and this was the perfect dessert to help us cool off afterwards.

Key lime pie with whipped cream on top

What is a Key Lime?

Key limes are also known as Mexican limes and were commonly grown in the Florida Keys (thus the name) until a hurricane wiped out the groves in  the 1920’s but they still kept the name.  Today they usually come from Mexico, Central or South America.

A key lime is smaller and more yellow in color than a traditional lime. They are also tarter and the zest is more powerful and has a stronger lime aroma. Because they are smaller, it takes a lot more limes to produce the amount of juice you need.

Since key limes can often be hard to find in the grocery store I love using the Nellie & Joe’s key lime juice you can find in the juice aisle of your grocery store.  It tastes great and it is so much easier than squeezing a bunch of little limes!!

Slice of Frozen Key Lime Pie

How To Make Frozen Key Lime Pie

  • This no bake dessert starts with a graham cracker crust which is just a combination of graham cracker crumbs, butter and sugar.  Press it into a nine inch pie plate.
  • The filling is a combination of sweetened condensed milk, key lime juice and lemon sorbet.  You could also use lime sorbet for even more lime goodness but the lemon was delicious.  This frozen key lime pie definitely has that tart lime flavor that a key lime pie should!
  • I beat all the filling ingredients together in my kitchen aid until combined and the filling is smooth.  Don’t beat to much so you melt your sorbet!  Fill the pie crust and put in the freezer to firm up.  It will set up but not get super hard.
  • I like to top it with a little fresh  whipped cream and lime slices.

Frozen Key Lime Pie with a slice missing

How long will Key Lime Pie keep?

It will keep for 1-2 weeks in the freezer if covered with plastic wrap or foil.

For a more traditional key lime pie check out my favorite key lime pie recipe here.

Other favorite key lime dessert ideas:

Key Lime Bars

Key Lime Cake

Key Lime Cookies

One slice of frozen key lime pie

Frozen Key Lime Pie Recipe


Sliced frozen key lime pie

Author information

Leigh Anne

Hi – I’m Leigh Anne! Food, family and friends are three of my favorite things. I love sharing easy, delicious recipes and entertaining ideas that everyone will love. When she started her blog, Your Homebased Mom, over 9 years ago she had no idea that it would one day house over 2,400 recipes and ideas! .

Continue reading Frozen Key Lime Pie. This post is from Your Homebased Mom. If you are not reading it from our feed, it has been STOLEN. Please contact Leigh Anne to let us know. Enjoy the posts.


from Your Homebased Mom https://ift.tt/2GIeFvQ
via IFTTThttps://ift.tt/2Zo4cgl